What does a toilet fill valve do?
The fill valve refills the tank after each flush and shuts off automatically when the tank reaches its set level. When it fails, the toilet runs, hisses, or fills slowly.
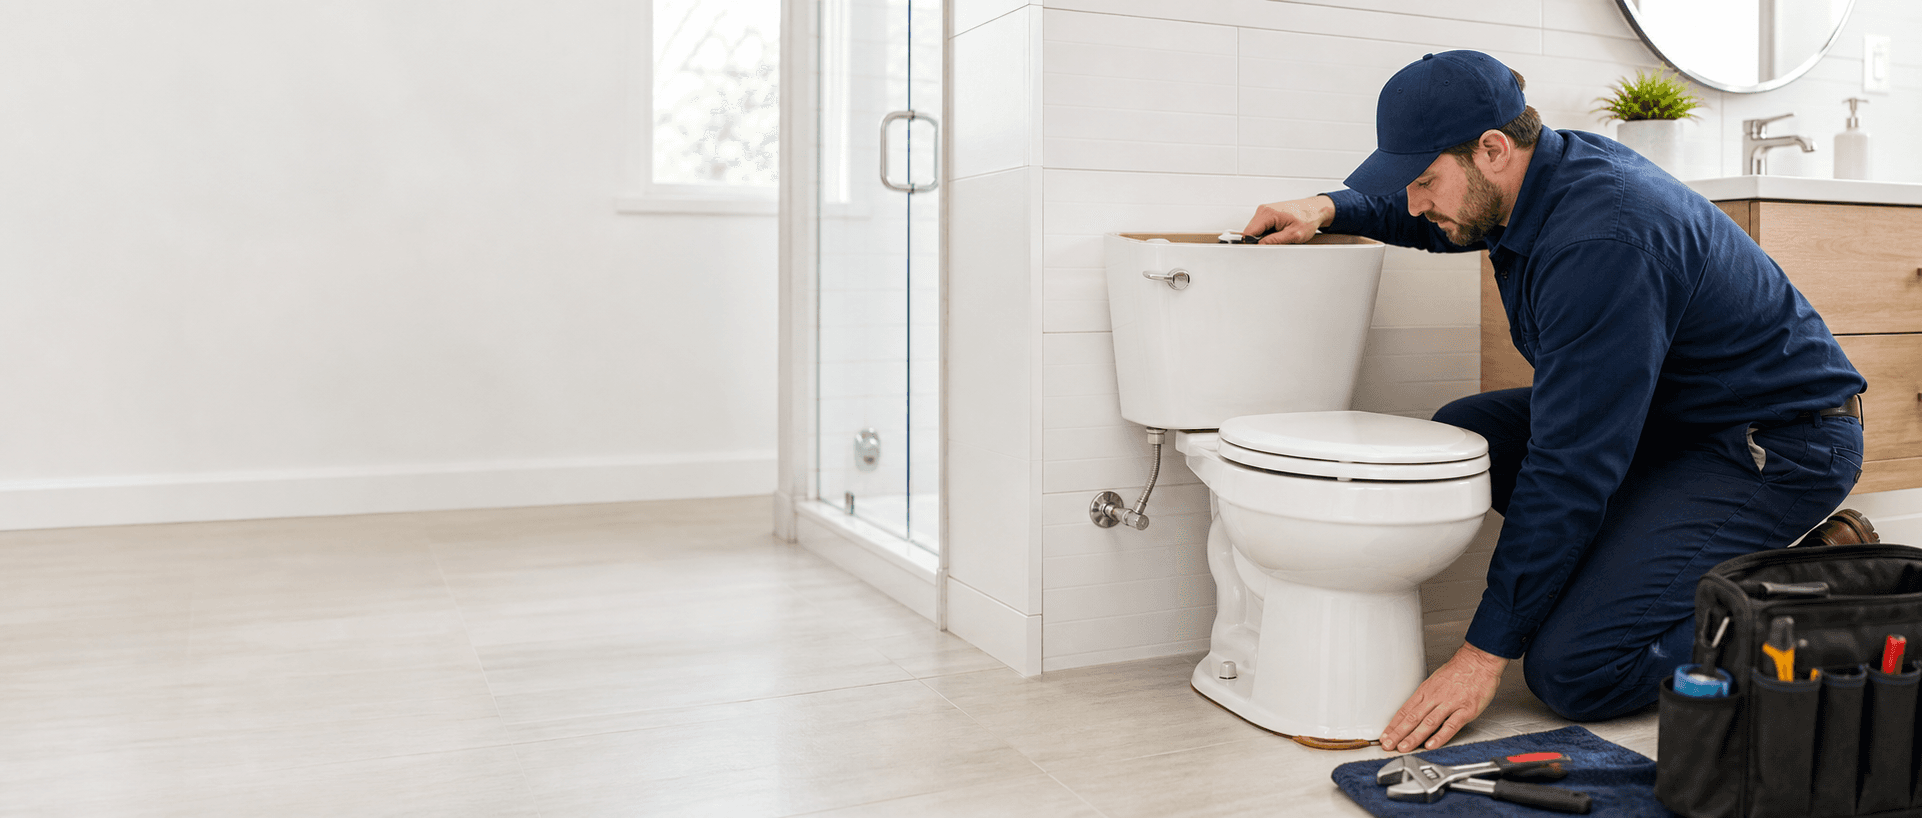
The fill valve is the part inside the tank that refills it with water after each flush and shuts off when the tank is full. Two designs exist: the old float-arm ballcock, with a ball on the end of a long arm, and the modern float-cup valve invented by Adolf Schoepe in 1957, with a cup that rides up the central shaft. Fill valves last roughly five to seven years before the diaphragm wears, debris fouls the seal, the housing cracks, or the float sticks, and a failing fill valve causes slow filling, constant running, or a tank that will not fill at all. Replacing one is a sub-$25 part and about a thirty-minute job: shut the stop valve, flush and sponge the tank dry, disconnect the supply line and locknut, set the new valve's critical-level mark at least an inch above the overflow tube, hand-tighten it, clip the refill tube to the overflow, and set the float so the water stops about an inch below the top of the tube. This guide covers the replacement, the correct water level, the anti-siphon and backflow code the critical-level mark satisfies, and the Bellevue gotcha of a corroded angle-stop in older homes.
Last reviewed: 2026-06-04
The fill valve refills the tank with water after each flush and shuts off automatically when the tank reaches its set level, ready for the next flush.
The fill valve is the tower-shaped part on the left side of the tank, connected to the water supply line underneath. Its job is simple but constant: after each flush empties the tank, the fill valve opens and lets supply water in to refill it, then shuts off when the water reaches the set level so the tank is ready for the next flush. It is one half of the toilet's two-valve system — the flush valve and flapper let water out, the fill valve lets water back in.
The valve knows when to shut off by sensing the water level through a float. As the tank refills, the float rises with the water; when it reaches the set height, it mechanically closes the valve and the inflow stops. This is what keeps the tank from overflowing and what sets how much water each flush gets — which is why the float adjustment is central both to a weak flush and to a running toilet.
The fill valve also refills the bowl. A small refill tube runs from the fill valve to the overflow tube, and during the refill cycle the valve sends a stream down that tube into the bowl to restore the bowl's water level and trap seal after the flush siphons it down. A fill valve with a disconnected or misrouted refill tube leaves the bowl water low, even though the tank fills fine.
Because the fill valve cycles on every single flush, it is a wear item with a finite life, and it is the part behind several common toilet complaints — slow filling, constant running, a hissing tank, or no fill at all. Understanding which design you have and when to replace it, covered next, is the start of any fill-valve repair.
This happening in your home right now? A licensed plumber can talk you through the next step on the phone — 24/7, and the call is free.
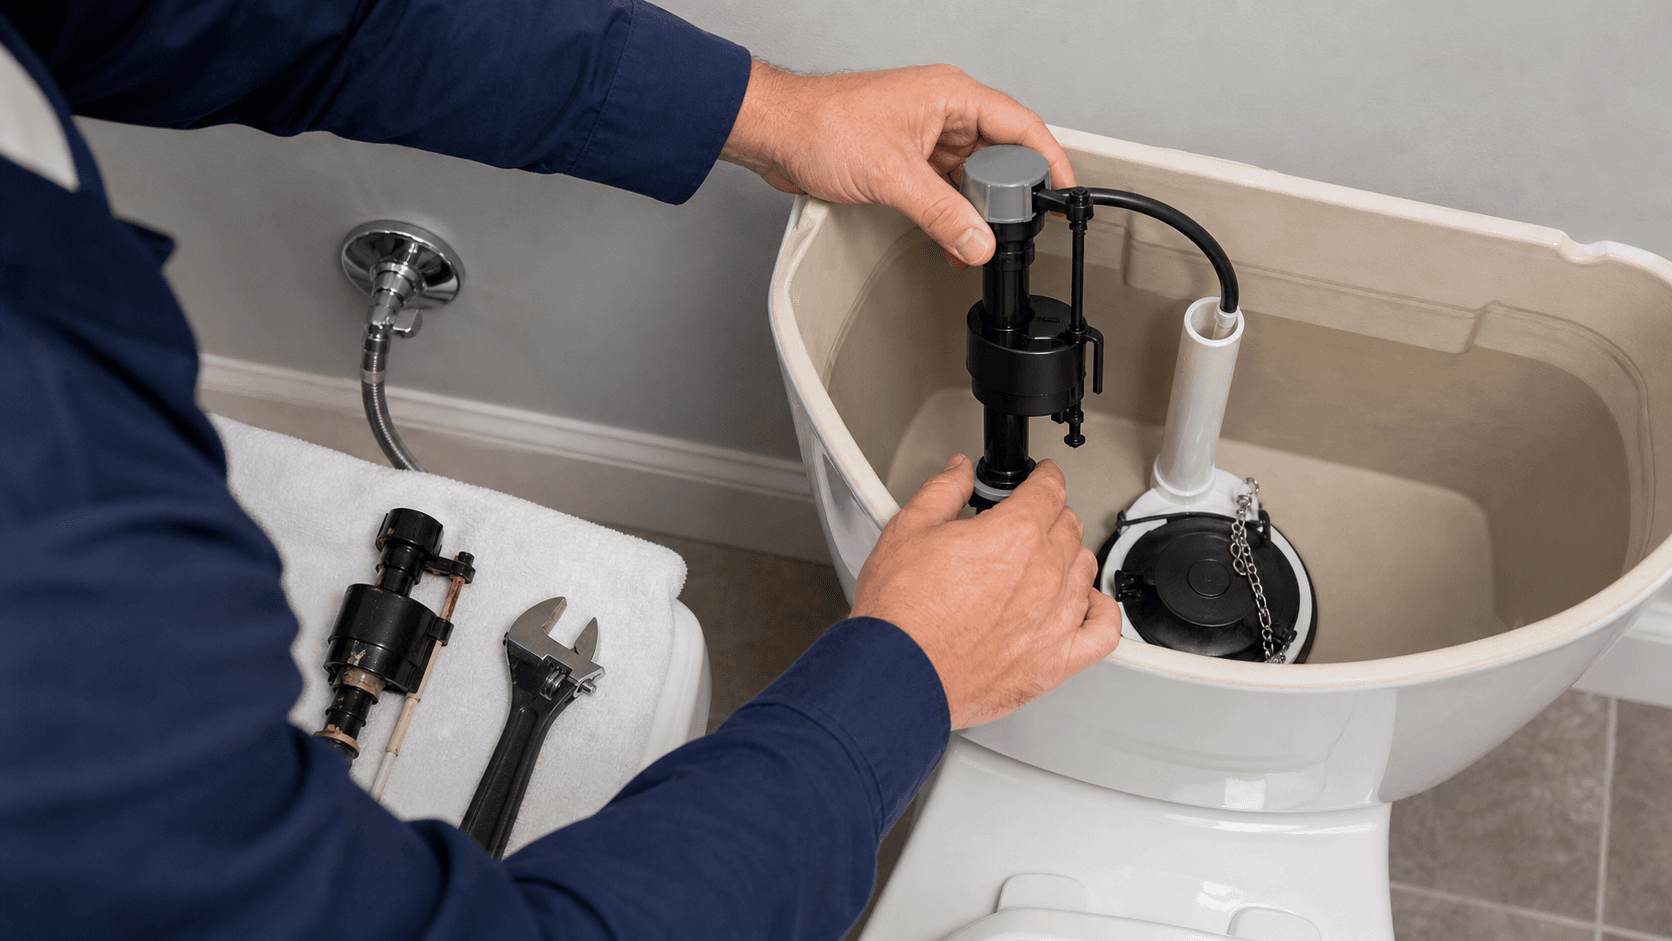
Call a plumberA ballcock has a floating ball on a long horizontal arm; a float-cup valve, invented by Adolf Schoepe in 1957, has a cup that slides up and down the central shaft.
Two fill-valve designs dominate, and a glance in the tank tells you which you have. The older design is the ballcock: a valve at one side with a long horizontal arm reaching across the tank to a floating ball at the end. As the tank fills, the ball floats up, the arm pivots, and the leverage closes the valve. This is the design in many older toilets, and the long arm and ball are unmistakable.
The modern design is the float-cup (or float-cup fill valve), invented by Adolf Schoepe in 1957. Instead of a ball on an arm, it has a doughnut-shaped float cup that rides up and down the vertical central shaft of the valve itself, connected to the shut-off mechanism by a short link. As the tank fills, the cup slides up the shaft and closes the valve. It is more compact, easier to adjust, and the standard in toilets made in recent decades — Fluidmaster's 400A is the archetypal example.
Knowing which you have matters for adjustment and for replacement choice. A ballcock is adjusted by bending the float arm; a float-cup is adjusted by pinching a clip or turning a screw on the shaft. When replacing a valve, the modern float-cup design is the usual upgrade even on a toilet that came with a ballcock, because it adjusts more precisely, fits a wider range of tanks, and is what the universal replacement valves on the shelf are built around.
For replacement purposes the two are interchangeable at the tank: a universal float-cup fill valve drops into the same threaded hole a ballcock occupied, so a toilet with an old ballcock is simply upgraded to a float-cup valve when the old one fails. The steps below describe that standard float-cup replacement, which works whether the outgoing valve was a ballcock or an older float-cup.
Replace a fill valve about every 5 to 7 years or when it fails — a worn diaphragm, debris, a cracked housing, or a stuck float makes it run, hiss, or fill slowly.
Fill valves have a typical service life of roughly five to seven years of normal use, after which the internal parts wear enough to cause problems. Because the valve actuates on every flush, the moving seal and diaphragm fatigue over time, so age alone is a reasonable prompt to replace one that has started misbehaving rather than to keep adjusting a worn part. A valve well past that age that is acting up is usually at the end of its life.
The failure modes are specific. A worn diaphragm — the flexible seal that opens and closes the water passage — lets the valve trickle or fail to shut off cleanly, producing a running or hissing tank. Debris from the water supply can lodge in the valve seat and hold it partly open, also causing a constant run. A cracked housing leaks or distorts the valve's action. And a stuck or waterlogged float fails to rise properly, so the valve either overfills past the overflow or shuts off early and underfills.
Those failures show up as familiar symptoms. A fill valve that will not shut off causes the toilet to run continuously and overflow into the tube; one that fills very slowly drags out the refill and may leave the bowl low; one that hisses is leaking internally; and one whose float is stuck either floods the overflow or starves the flush. When adjusting the float and cleaning the valve do not resolve these, the valve has failed and replacement is the fix.
The decision is straightforward because the part is cheap and the diagnosis is clear: a fill valve that runs, hisses, fills slowly, or will not shut off after the float is correctly set and the valve cleaned has worn out, and at a sub-$25 part it is replaced rather than rebuilt. The next sections walk that replacement and the water-level setting that makes it work.
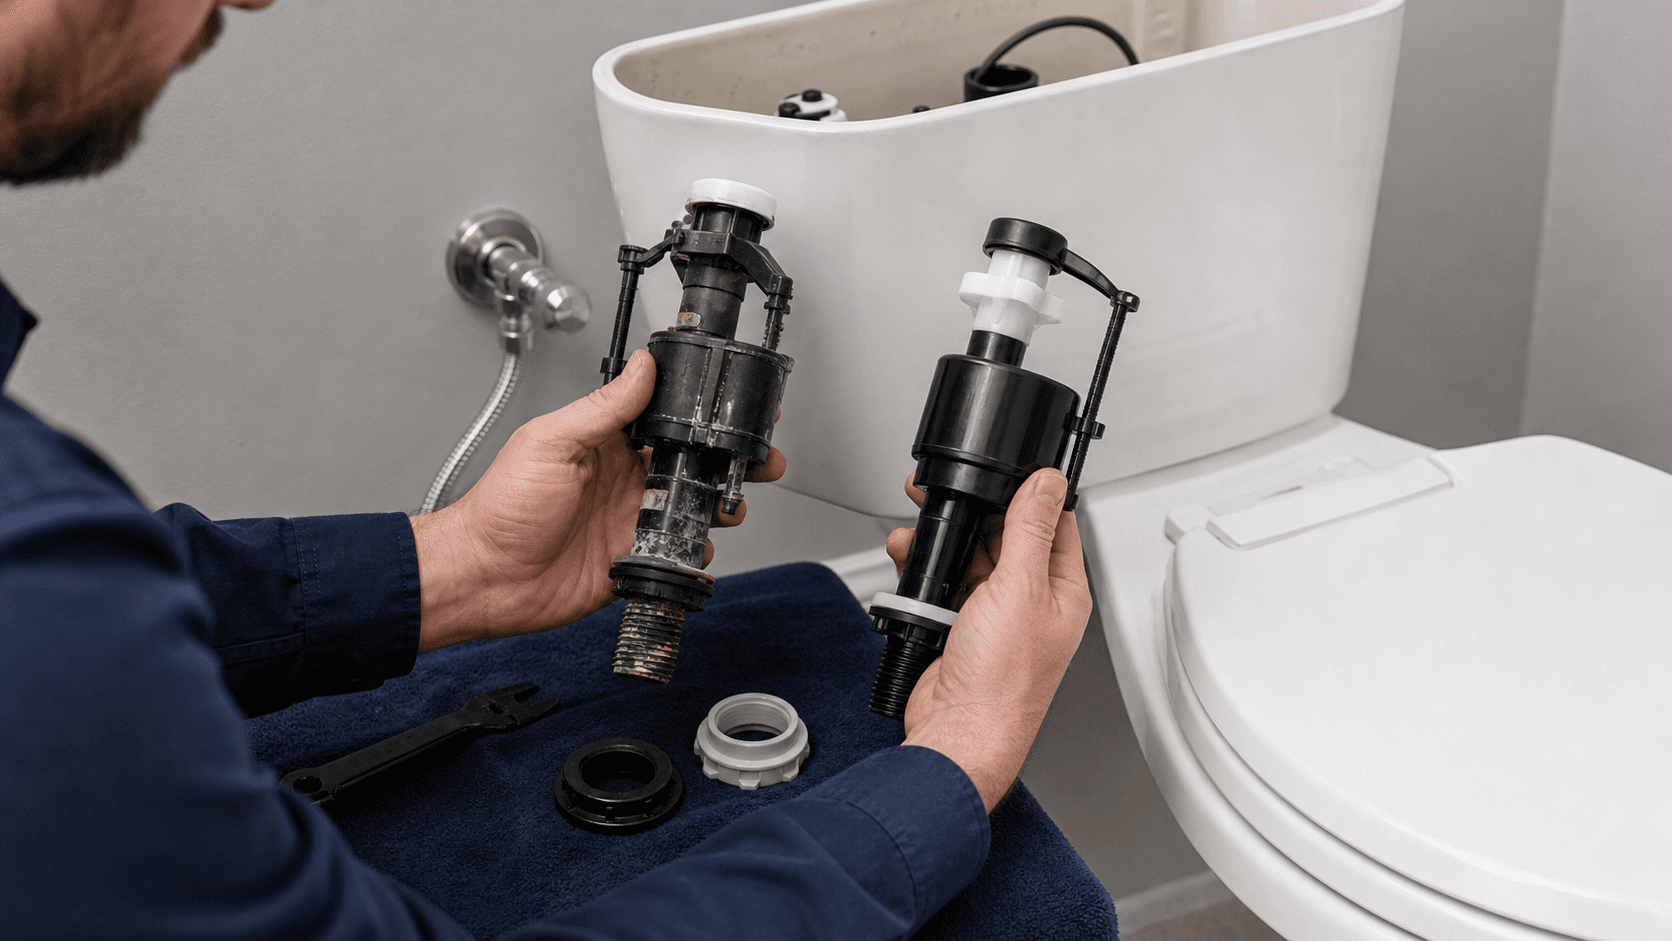
Shut the stop valve, flush and sponge the tank dry, disconnect the supply line and locknut, set the new valve height, hand-tighten the locknut, clip the refill tube, and restore water.
Start by isolating the water and emptying the tank. Turn off the stop valve (the angle-stop) on the wall below the tank, then flush to drain the tank and hold the flapper to let as much water out as possible. Sponge the remaining water from the bottom of the tank so it is dry enough to work in, because the locknut connection underneath will leak the dregs onto the floor otherwise. A towel under the tank catches what the sponge misses.
Remove the old valve. Disconnect the water supply line from the bottom of the fill-valve shank, then unscrew the locknut that clamps the valve to the tank from underneath; the old valve lifts out from inside the tank once the nut is off and the refill tube is unclipped from the overflow. Set the old valve aside and clean the tank hole and gasket seat so the new valve seals cleanly.
Set the new valve's height before installing it. Modern float-cup valves telescope to adjust height, and the rule is to set the valve so its critical-level (CL) mark sits at least an inch above the top of the overflow tube — this is the anti-siphon requirement covered below. With the height set, drop the valve through the tank hole, hand-tighten the locknut from underneath (hand-tight, not wrenched — overtightening cracks the tank or the valve base), and reconnect the supply line.
Finish with the refill tube and the level. Clip the small refill tube from the valve onto the overflow tube so it directs water into the tube, not over the rim, then turn the stop valve back on and let the tank fill. Adjust the float so the water stops about an inch below the top of the overflow tube — the correct level covered next — and flush a few times to confirm a clean fill and shut-off with no leaks at the locknut or supply connection. If the angle-stop will not seal again afterward, that is the Bellevue gotcha below, and a reason to call faucet and fixture repair in Bellevue.
Set the float so the water stops about an inch below the top of the overflow tube — high enough for a strong flush, low enough that nothing spills into the tube.
The water level is what ties the fill valve to the toilet's performance, and the target is consistent: the tank should fill until the water sits roughly an inch below the top of the overflow tube, then shut off. That level holds enough water for a full, strong flush while leaving a margin so that no water spills into the overflow tube — which would run continuously into the bowl and waste water, the running-toilet failure mode.
The level is set at the float. On the new float-cup valve, the float cup adjusts up or down via a clip on the link rod or a screw on the shaft; raising the float raises the shut-off level, lowering it lowers the level. Set it so the valve closes with the water about an inch below the overflow tube, then flush and watch the refill to confirm it stops at that line every cycle. A level set too low weakens the flush; a level set too high spills into the tube and runs.
Two failure directions show why the inch-below target matters. If you set the level too high, water reaches the top of the overflow tube and pours down it into the bowl forever, so the toilet runs and the fill valve never shuts off — exactly the running-toilet problem in our toilet keeps running guide. If you set it too low, the tank holds too little water and the flush is weak, the problem in our weak flush guide.
Getting the level right is the last step of any fill-valve work, and it is the same target whether you replaced the valve or just adjusted it. An inch below the overflow tube is the sweet spot that gives a full flush without spilling, and confirming the valve shuts off cleanly at that line — quietly, with no hiss or trickle — is how you know the new valve and its level are set correctly.
Fill valves must be anti-siphon to ASSE 1002, with the critical-level mark set at least an inch above the overflow tube so tank water can never siphon back into the drinking-water supply.
The height rule for setting the fill valve is not arbitrary — it is a backflow-prevention requirement. Modern fill valves are anti-siphon devices built to the ASSE 1002 standard, designed so that water in the tank can never be siphoned backward into the home's potable supply if the supply pressure drops. The mechanism is an air gap and a vacuum-break feature in the valve that only works if the valve is installed at the correct height relative to the water level.
That is what the critical-level (CL) mark on the valve body is for. The CL mark must sit at least one inch above the top of the overflow tube — equivalently above the flood-level rim of the tank — so that the anti-siphon break is always above the highest water level the tank can reach. Installed at that height, the valve's air gap is never submerged, and there is no path for tank water to be drawn back into the supply line under a back-siphon event.
The reason this matters is contamination protection. Without anti-siphon protection, a drop in street water pressure could create suction that pulls tank water — which has been in contact with the toilet's internals — back into the household drinking water. The ASSE 1002 anti-siphon fill valve, set with its CL mark above the overflow, makes that physically impossible, which is why the standard exists and why the install height is a code requirement rather than a suggestion.
In practice, satisfying the code is simply doing the install right: buy an anti-siphon fill valve (essentially all current valves are) and set its CL mark at least an inch above the overflow tube before tightening it down. Get that height right and the backflow protection is built in; get it wrong — valve set too low — and you have defeated the very protection the standard requires, which is one more reason to set the valve height deliberately before final tightening.
In older Bellevue homes the angle-stop shut-off valve can be seized or corroded, so it will not close fully or will not reseal after — turning a simple fill-valve swap into a stop-valve replacement.
The one step of a fill-valve replacement that can go sideways in an older home is the very first one: shutting off the angle-stop. The angle-stop is the small shut-off valve on the wall supply line below the tank, and in older Bellevue homes — the original 1960s-through-1980s Eastside housing stock and earlier — these valves can be decades old, rarely turned, and corroded or seized inside. A valve that has not moved in twenty years may not want to close, or may not reseal afterward.
Two failure modes show up. A seized angle-stop will not turn at all, or turns but does not fully stop the water, so you cannot safely open the supply connection to replace the fill valve. The other, sneakier failure is an angle-stop that closes to let you do the work but then will not reseal when you reopen it — its internal washer, hardened and disturbed by being moved for the first time in years, weeps or runs at the stem. Now a routine fill-valve swap has created a leaking shut-off valve.
This is why a job that is genuinely simple in a newer home carries a hidden risk in an older one. The fill valve itself is a sub-$25 part and a half-hour task, but if the angle-stop fails, the repair expands to replacing the stop valve — which may mean shutting off water further upstream, dealing with old compression or soldered connections, and the kind of work that is harder to reverse if it goes wrong. The age of the supply valve, not the fill valve, is the variable.
The practical advice for an older Bellevue home is to be ready for the angle-stop to be the real job. If the stop valve is corroded, will not close, or will not reseal after the swap, that is the point to bring in a plumber rather than force a seized valve and risk a leak you cannot stop — book it as faucet and fixture repair in Bellevue. A fill valve is a confident DIY part; a failed angle-stop on aged supply lines is where the job earns a professional.
A fill valve lasts about 5 to 7 years. A ballcock has a ball on an arm; a float-cup has a cup on the shaft. The fill valve fills the tank; the flapper seals it.
A toilet fill valve lasts about five to seven years before the diaphragm wears, debris fouls the seal, the housing cracks, or the float sticks. Because it cycles on every flush, age plus any symptom — running, hissing, slow filling, or no fill — is a reasonable cue to replace it, and at a sub-$25 part there is little reason to rebuild a worn one. A valve well past seven years that is acting up has reached the end of its service life.
The difference between a ballcock and a float-cup is the float. A ballcock has a floating ball on a long horizontal arm that pivots to close the valve, the older design; a float-cup, invented by Adolf Schoepe in 1957, has a cup that slides up and down the valve's central shaft. Float-cup valves are the modern standard and the usual replacement even for an old ballcock, because they adjust more precisely and fit a wider range of tanks.
The fill valve and the flapper do opposite jobs. The fill valve refills the tank and shuts off when full; the flapper seals the flush valve so the filled water stays in the tank until the next flush. A toilet that runs because water leaks out is usually a flapper problem (see our toilet keeps running guide); a toilet that runs because the inflow will not stop is a fill-valve problem. Knowing which is leaking tells you which part to replace.
Yes, replacing a fill valve is a DIY job for most homeowners — shut the stop valve, flush and sponge the tank dry, swap the valve, set the CL mark at least an inch above the overflow, and set the water level about an inch below the tube. Always turn off the water at the angle-stop first. The catch in older Bellevue homes is a corroded angle-stop that will not close or reseal; if that valve fails, book faucet and fixture repair in Bellevue rather than fight a seized shut-off.
Every fact in this guide cites a verifiable public source. If you find a number we got wrong, email dispatch@bellevueplumberpro.com.
Need help with this in your home? See our Toilet repair and replacement in Bellevue page for pricing, our diagnostic process, and how same-day service works across the Eastside.
Related services: Drain Cleaning and Clog Removal.
The fill valve refills the tank after each flush and shuts off automatically when the tank reaches its set level. When it fails, the toilet runs, hisses, or fills slowly.
About every 5 to 7 years, or when it fails — a worn diaphragm, debris, a cracked housing, or a stuck float are the usual failure modes.
A ballcock has a floating ball on a long horizontal arm; a float-cup valve has a cup that slides up and down the central shaft (invented by Adolf Schoepe in 1957). Both do the same job.
Set the float so water stops about an inch below the top of the overflow tube — high enough for a strong flush, low enough that nothing spills into the tube.